These DIY beeswax candles are one of my favorite crafts to make because they are so easy and people love them. They’re perfect for around the house or to give as gifts. I always make them in the fall, because there’s nothing I love more than cozy nights in with beeswax candles burning! I made these in my Instagram stories the other day and people were asking tons of questions. I’ve put together instructions as well as FAQs for you guys in case you want to do it on your own.
If you’ve never done this before, read on to learn about
- What materials you need to make beeswax candles (+links to them)
- The health benefits of beeswax candles
- Why beeswax is superior to other waxes
- Instructions on how to make your very own beeswax candles (it’s so easy, I swear!)
Why are beeswax candles better than other natural alternatives?
- Beeswax candles detoxify the air. Did you know beeswax candles can actually help clean the air in your house? I know, crazy. Burning them releases negative ions which help to neutralize pollutants in the air like dust, smells, and mold. Read about my personal experience with home pollutants here.
- They are slow burning. Beeswax candles are a denser wax than alternatives like soy, so they tend to last longer. I burned one of my 4 oz candles last night for almost 2.5 hours and it hardly made a dent in it.
- They’re more sustainable! Beeswax is a natural byproduct of the beekeeping industry so it’s already being made, vs the soy industry which is very closely linked with deforestation.
- Beeswax candles are healthier than soy and paraffin alternatives! Paraffin and soy candles both release toxins into your air since both are chemically processed from oil to become wax. Beeswax requires zero chemical processing as it was already wax to begin with.
How are beeswax candles made?
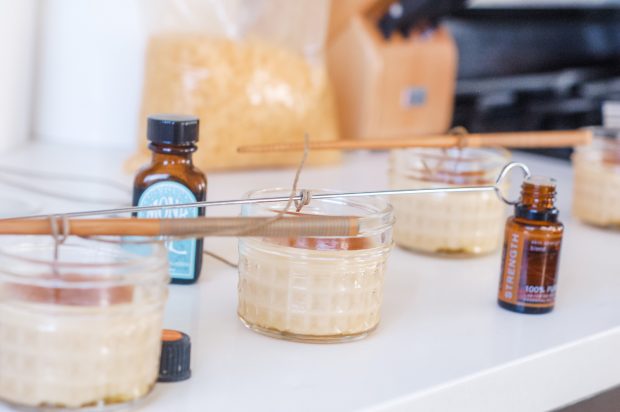
Making beeswax candles at home is so easy, you guys! All you have to do is melt and pour. Honestly, the most complicated part is probably trying to get the wicks to stay centered in your candle. You can purchase candle wick centering devices, but I mostly just used chop sticks because I think imperfection is charming.
What do you need to make DIY beeswax candles?
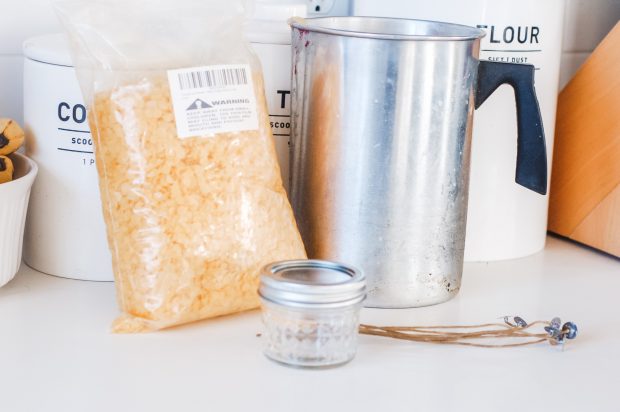
It’s really simple. Here’s all you need:
- Beeswax
- 4 oz mason jars
- Candle wicks
- Melting pot
- Candle wick centering device (or chop sticks)
- Coconut oil (you can buy this at your local grocery store if you don’t already have it!)
Can DIY beeswax candles be scented?
Yes, of course! I have tried adding essential oils to my beeswax candles the last three years I’ve been making them, but I’ve found the scent is never very potent. Upon further research, it seems many people have struggled with this as well because beeswax doesn’t hold onto scent very well. Coconut oil is supposed to remedy that, but it does require quite a bit of essential oil to create a smell that permeates a room. I read somewhere that you should use 25 drops/oz of beeswax, which would mean you need 100 drops for each of these 4 oz candles. If that’s something you wanna do, go for it! I think beeswax has a nice, sweet smell on its own and I think I’d rather diffuse essential oils where I get more bang for my buck. Again, totally up to you!
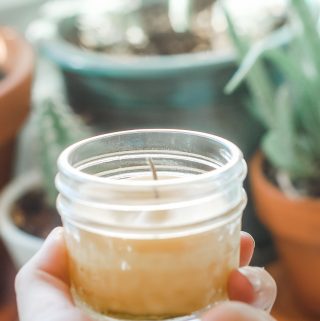
DIY Beeswax Candles
Ingredients
- 2 lb organic beeswax see above for links
- 2 cup coconut oil melted
- 12 4 oz mason jars
- 12 hemp candle wicks
- 12 chopsticks or wick centering devices
- 4 lb pouring pot
Instructions
- Fill up a dutch oven of soup pot about 1/2 of the way with water and bring to a boil
- Add wax and coconut oil to the 4 lb pouring pot and place in the boiling water. This may float up awkwardly so find a way to keep it steady. I just hooked the handle of the pouring pot in the handle of my soup pot. (you can melt wax in batches if you like to melt it faster)
- While the wax and oil are melting, center your wicks in the 4 oz mason jars by wrapping it around a utensil (pictured above) or using a wick centering device (linked above).
- If you are making scented candles, pull the wax from the pot and mix in your oils of choice once it is completely melted (about 30-45 minutes). Approximately 25-100 drops/oz depending on how potent your oil is.
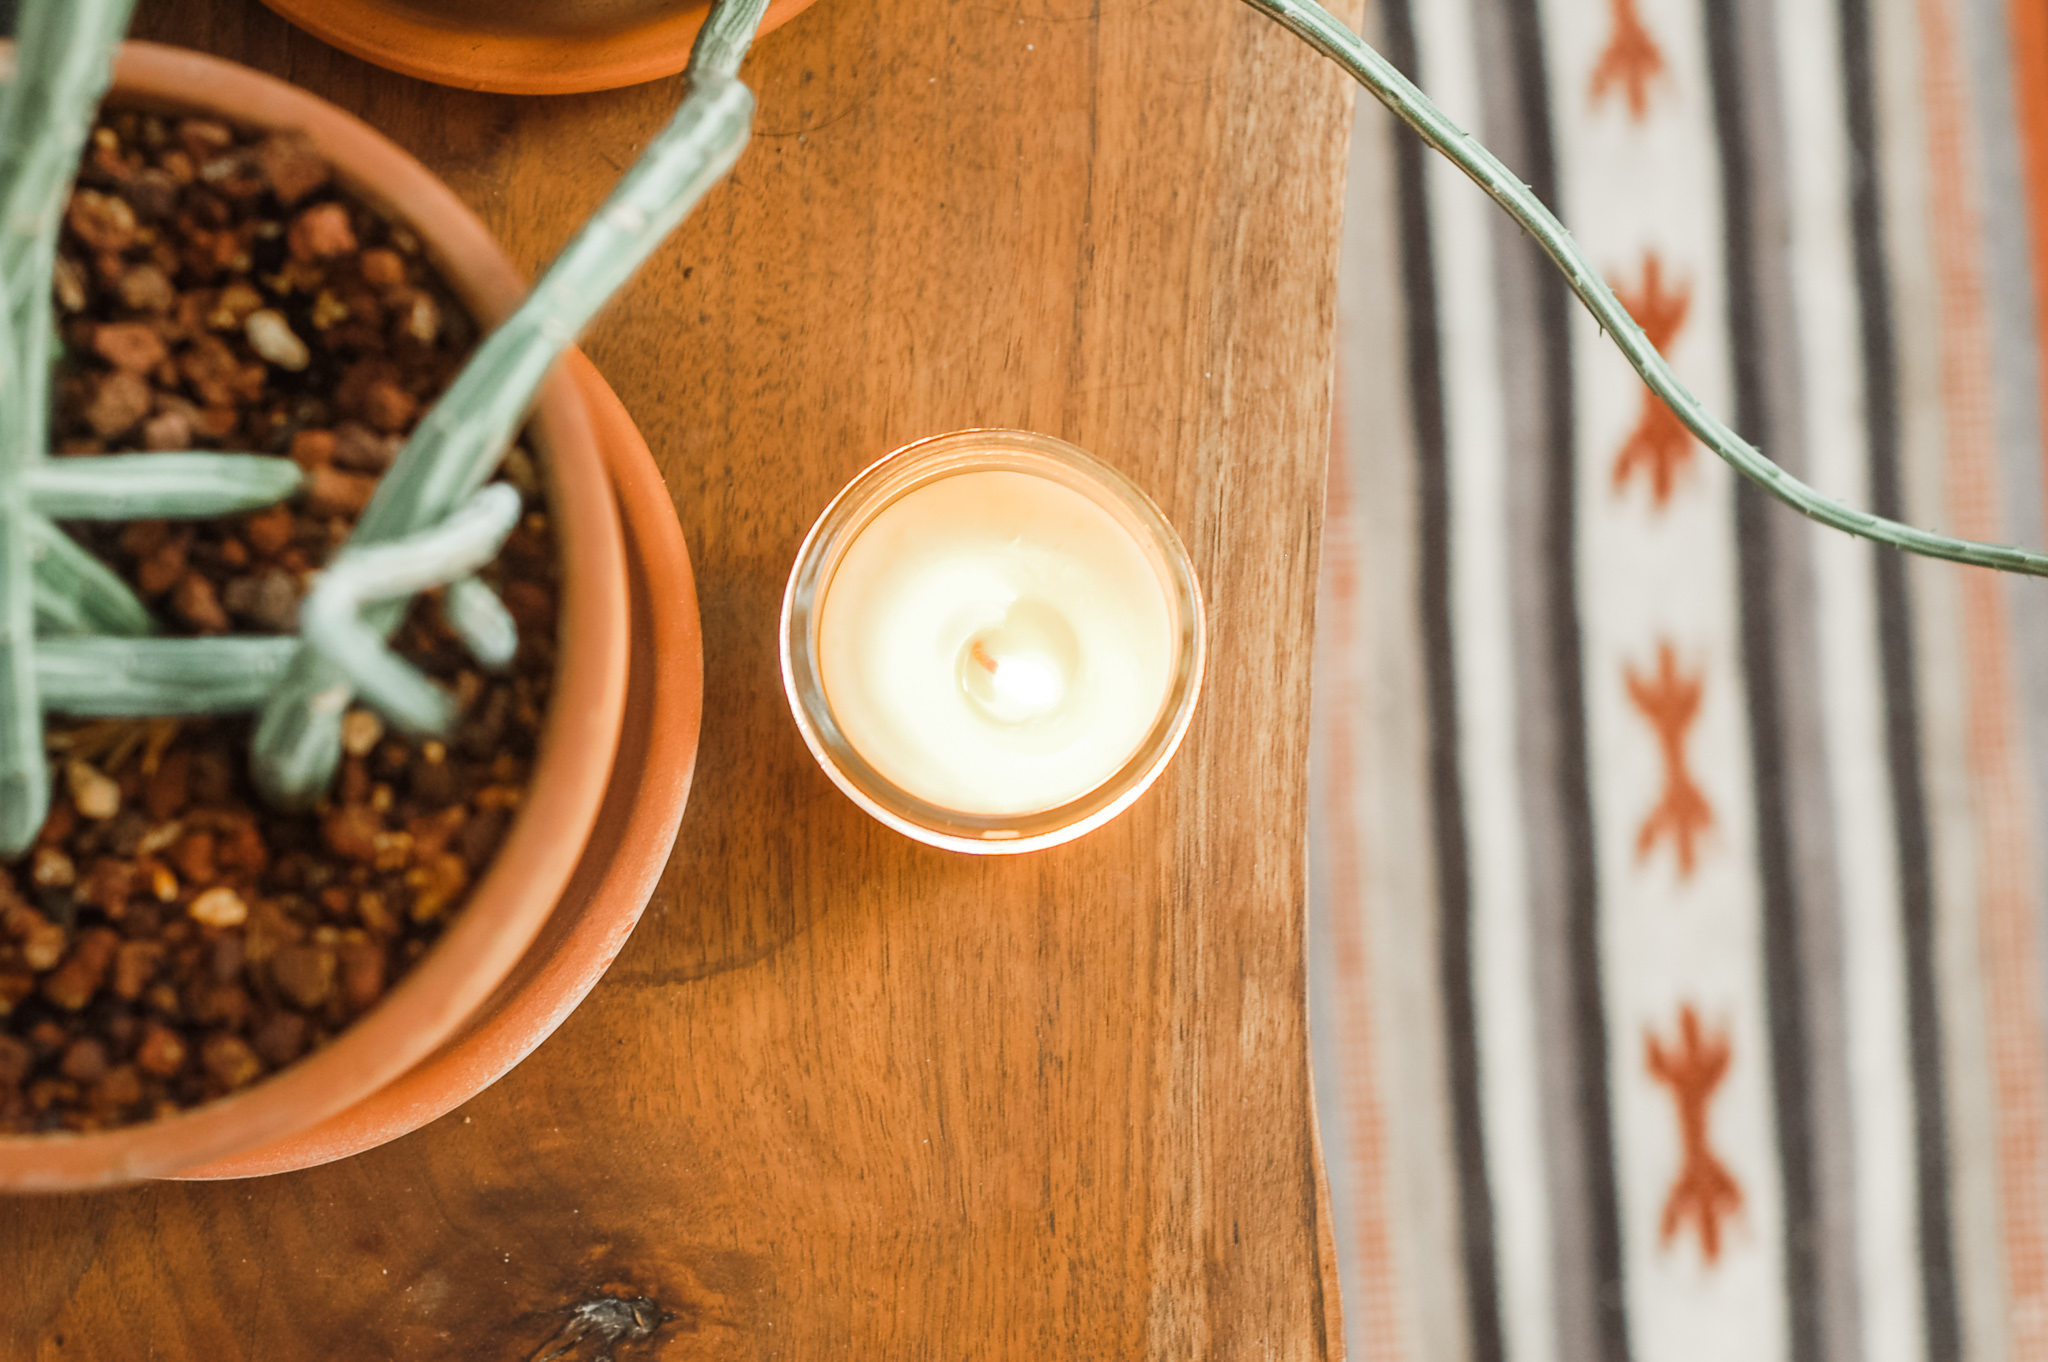
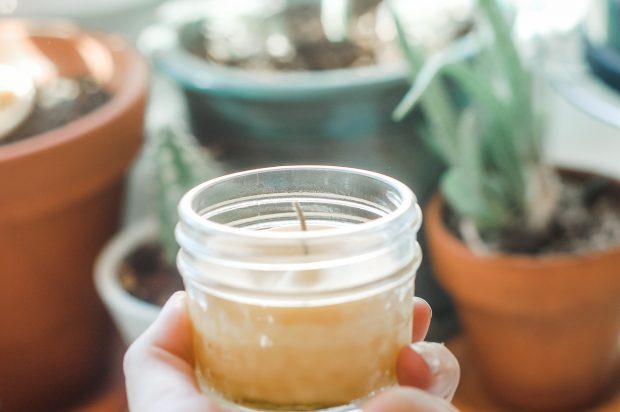
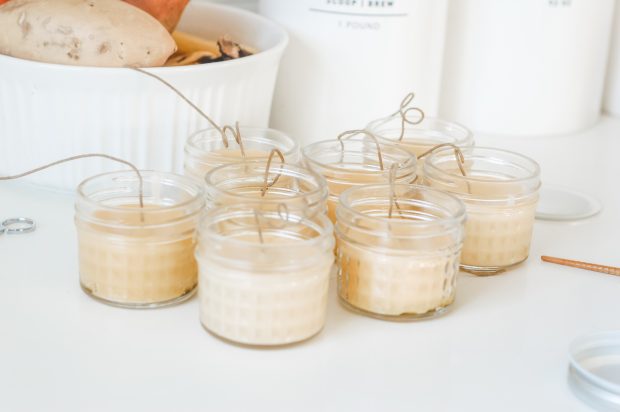
- Carefully pour the wax mixture into the candles and set aside to cool 45-60 minutes before lighting.
Hello! What is the purpose of coconut oil in the recipe? Just curious..
Thanks!
It helps slow down the burning!!
If we infused the coconut oil with our desires scent with dry herb, do you think that’s help alleviate the need for so much essential oil?
Do you think that we infused the coconut oil with dried herbs, this may alleviate the need for so much essential oils?
I want to use previously molded beeswax candles for this that have used up all the wick etc, so therefore they are not cut up in small pieces, does it need to be chopped up?
yes, I would chop it up!